Jenkins SSO with Keycloak using OIDC
Set up Keycloak SSO in Jenkins using the oic-auth plugin. Covers plugin installation, confidential client setup, security realm configuration, and field mapping for username and email.
KeycloakPro Team
KeycloakPro Team
Introduction
Jenkins does not ship with OIDC support. You install the oic-auth plugin (OpenID Connect Authentication Plugin), configure it as the security realm, and Jenkins delegates authentication to Keycloak. From that point, users click a button on the Jenkins login page, authenticate in Keycloak, and land in Jenkins with an account created from the token claims.
This guide covers Jenkins LTS 2.x with Keycloak 24+. Both should run on HTTPS in production.
Prerequisites
- Keycloak 24+ with HTTPS
- Jenkins LTS with admin access
- Jenkins accessible at a fixed URL
Step 0 — Install Jenkins on Windows using the MSI
If you already have Jenkins running, skip to Step 1.
Running Jenkins as a Docker container is the fastest path — pull the image, map port 8080, done. But if you need Jenkins installed natively on Windows (for example, to run agents or jobs that depend on Windows-specific tooling), the MSI installer has a few steps that trip people up. This section covers that path.
- Go to jenkins.io/download and download the Windows installer (
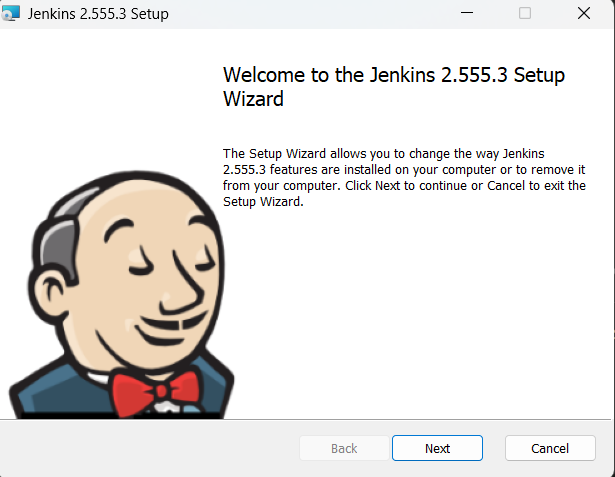
.msi) for the LTS release. - Run the downloaded
.msifile. The installer launches a setup wizard.
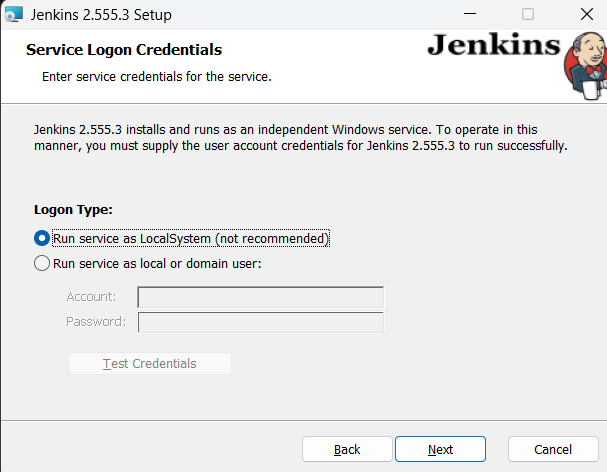
- On the Service Logon Credentials screen, the default is to run the Jenkins service as Local System. For most local/dev setups this is fine. If your Jenkins needs to access network resources (a shared drive, a domain-joined SCM server) under a specific account, choose a custom domain/user account instead — Local System has no network identity beyond the machine account.
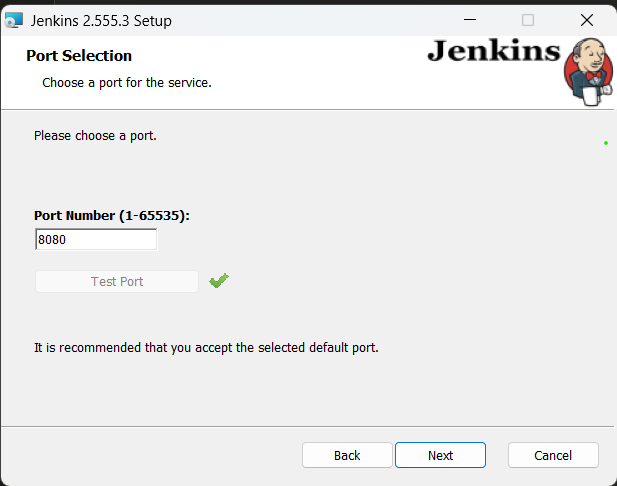
- On the Port screen, the default is
8080. Change it here if something else on your machine already listens on 8080 (a common conflict). You can also change this later by editingjenkins.xmlin the install directory and restarting the service.
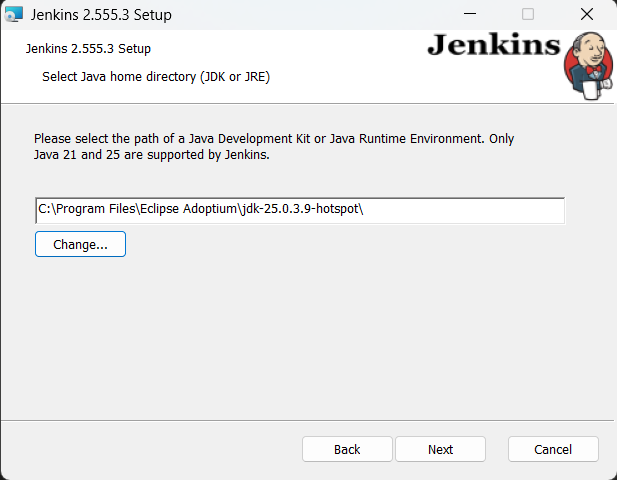
- Choose the Java installation Jenkins should use. If the installer doesn't detect a JDK, you'll need to install one first (Jenkins LTS 2.x requires Java 17 or 21) and point the installer at it.
- Finish the wizard. The installer registers Jenkins as a Windows service named
Jenkinsand starts it automatically. - Open
http://localhost:8080(or whichever port you chose) in a browser. Jenkins shows the Unlock Jenkins screen on first run. - Get the initial admin password from the file path shown on that screen — typically:
C:\Program Files\Jenkins\secrets\initialAdminPasswordOpen it in a text editor, copy the value, and paste it into the Unlock screen.
Path varies if you chose a custom install directory during setup — use the exact path shown on your Unlock Jenkins screen.
- On the next screens, click Install suggested plugins (the oic-auth plugin from Step 1 below isn't in this default set — you'll add it separately), then create your first admin user when prompted.
A few Windows-specific things worth knowing:
- Because Jenkins runs as a Windows service, plugin installs from Manage Jenkins → Plugins apply on the next service restart, not just a page reload — Jenkins will tell you when a restart is needed.
- To restart Jenkins without rebooting the machine: open Services (
services.msc), find Jenkins, right-click → Restart. Or from an elevated PowerShell:Restart-Service Jenkins. JENKINS_HOMEdefaults toC:\Program Files\Jenkins\.jenkinsunless changed during install — this is the directory referenced later in this guide's "Locked out" troubleshooting step (config.xmllives there).- If Windows Firewall prompts you the first time Jenkins starts, allow access on private networks at minimum, or the setup screen won't load from another machine on the network.
Once Jenkins is up and you've logged into the dashboard, continue to Step 1.
Step 1 — Install the oic-auth plugin
In Jenkins:
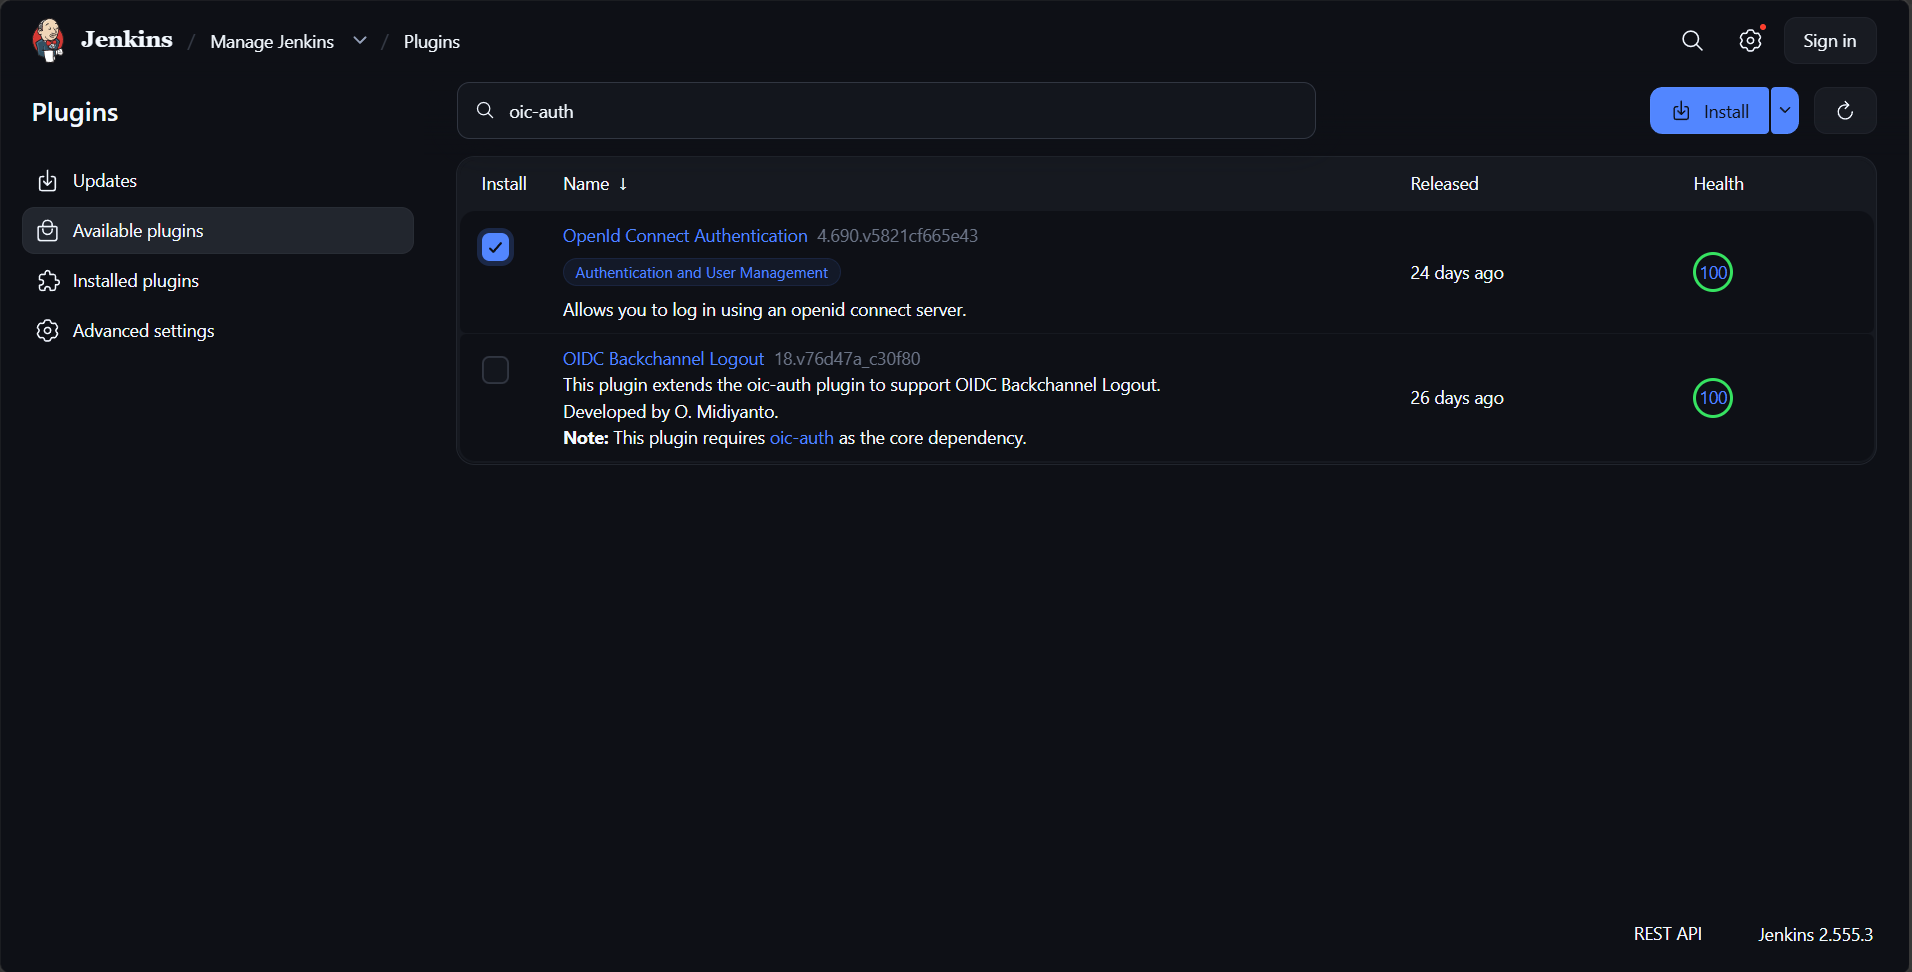
- Manage Jenkins → Plugins → Available plugins
- Search for OpenID Connect Authentication Plugin (plugin ID:
oic-auth) - Select it and click Install
- Restart Jenkins when prompted
Step 2 — Create the Keycloak confidential client
In the Keycloak admin console:
- Clients → Create client
- Client type:
OpenID Connect - Client ID:
jenkins - Click Next
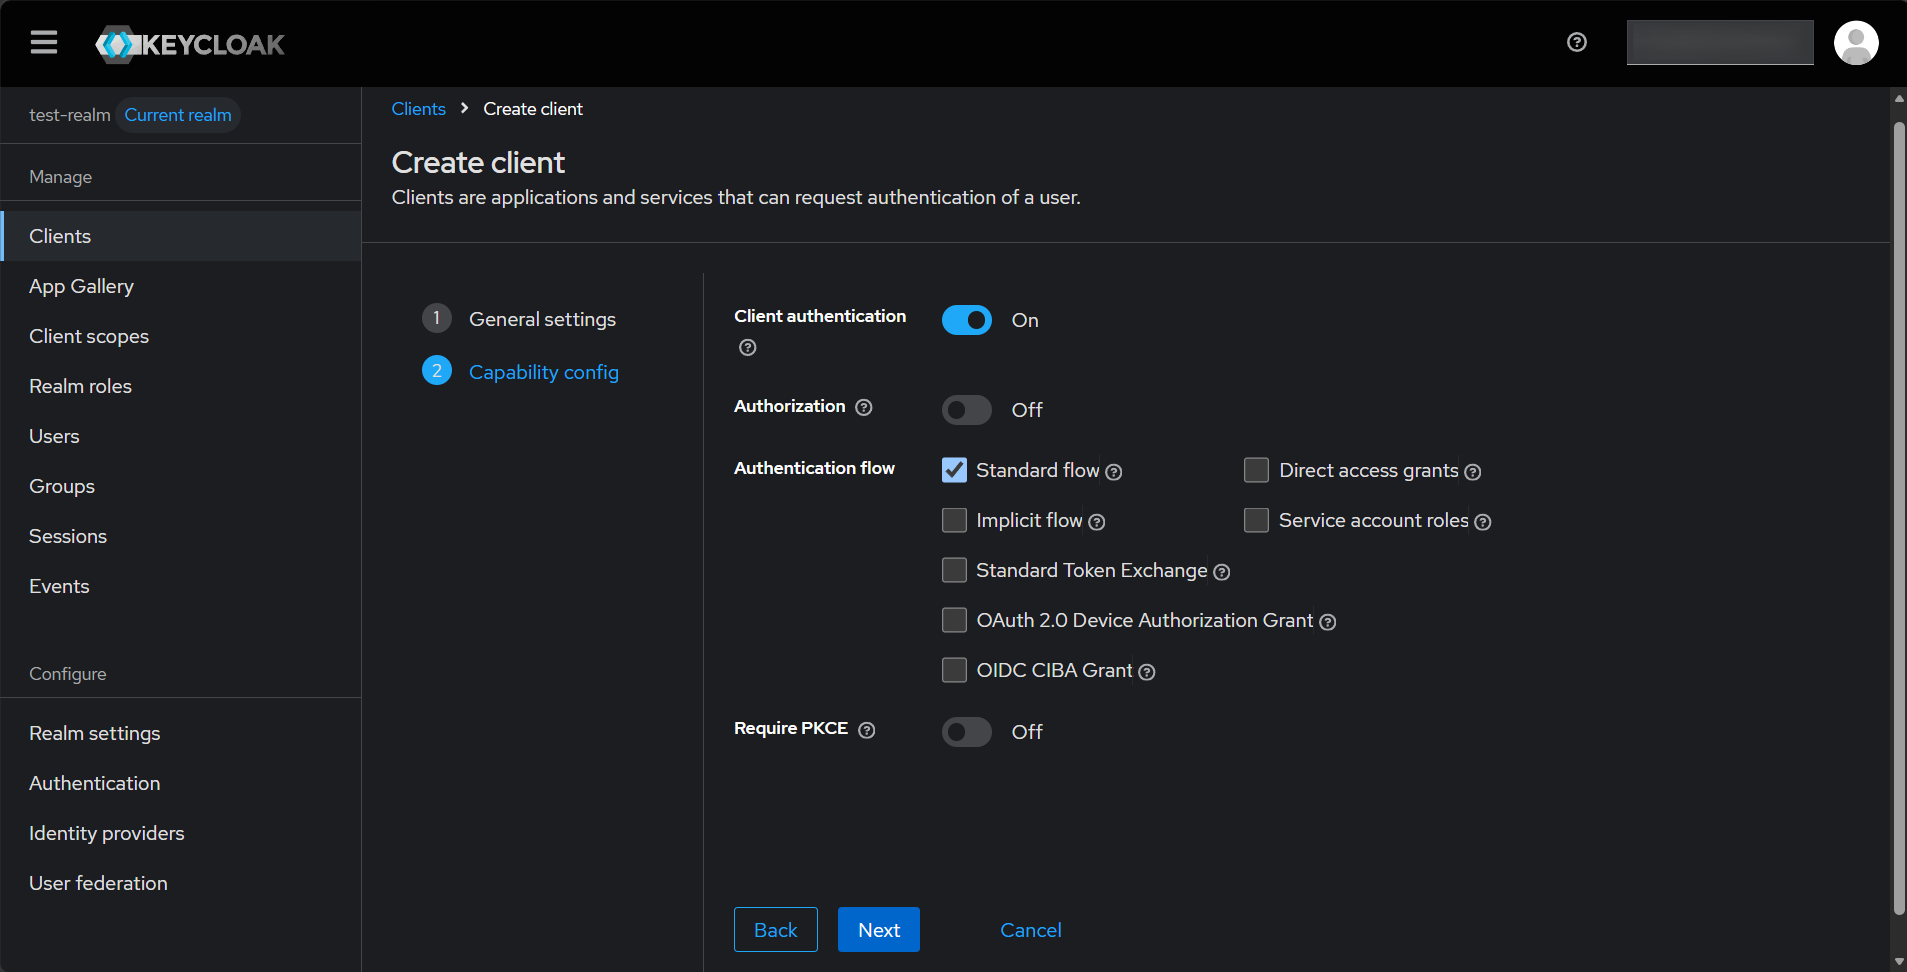
Capability config:
- Client authentication: ON (confidential client)
- Standard flow: ON
- Direct access grants: OFF
- Click Next
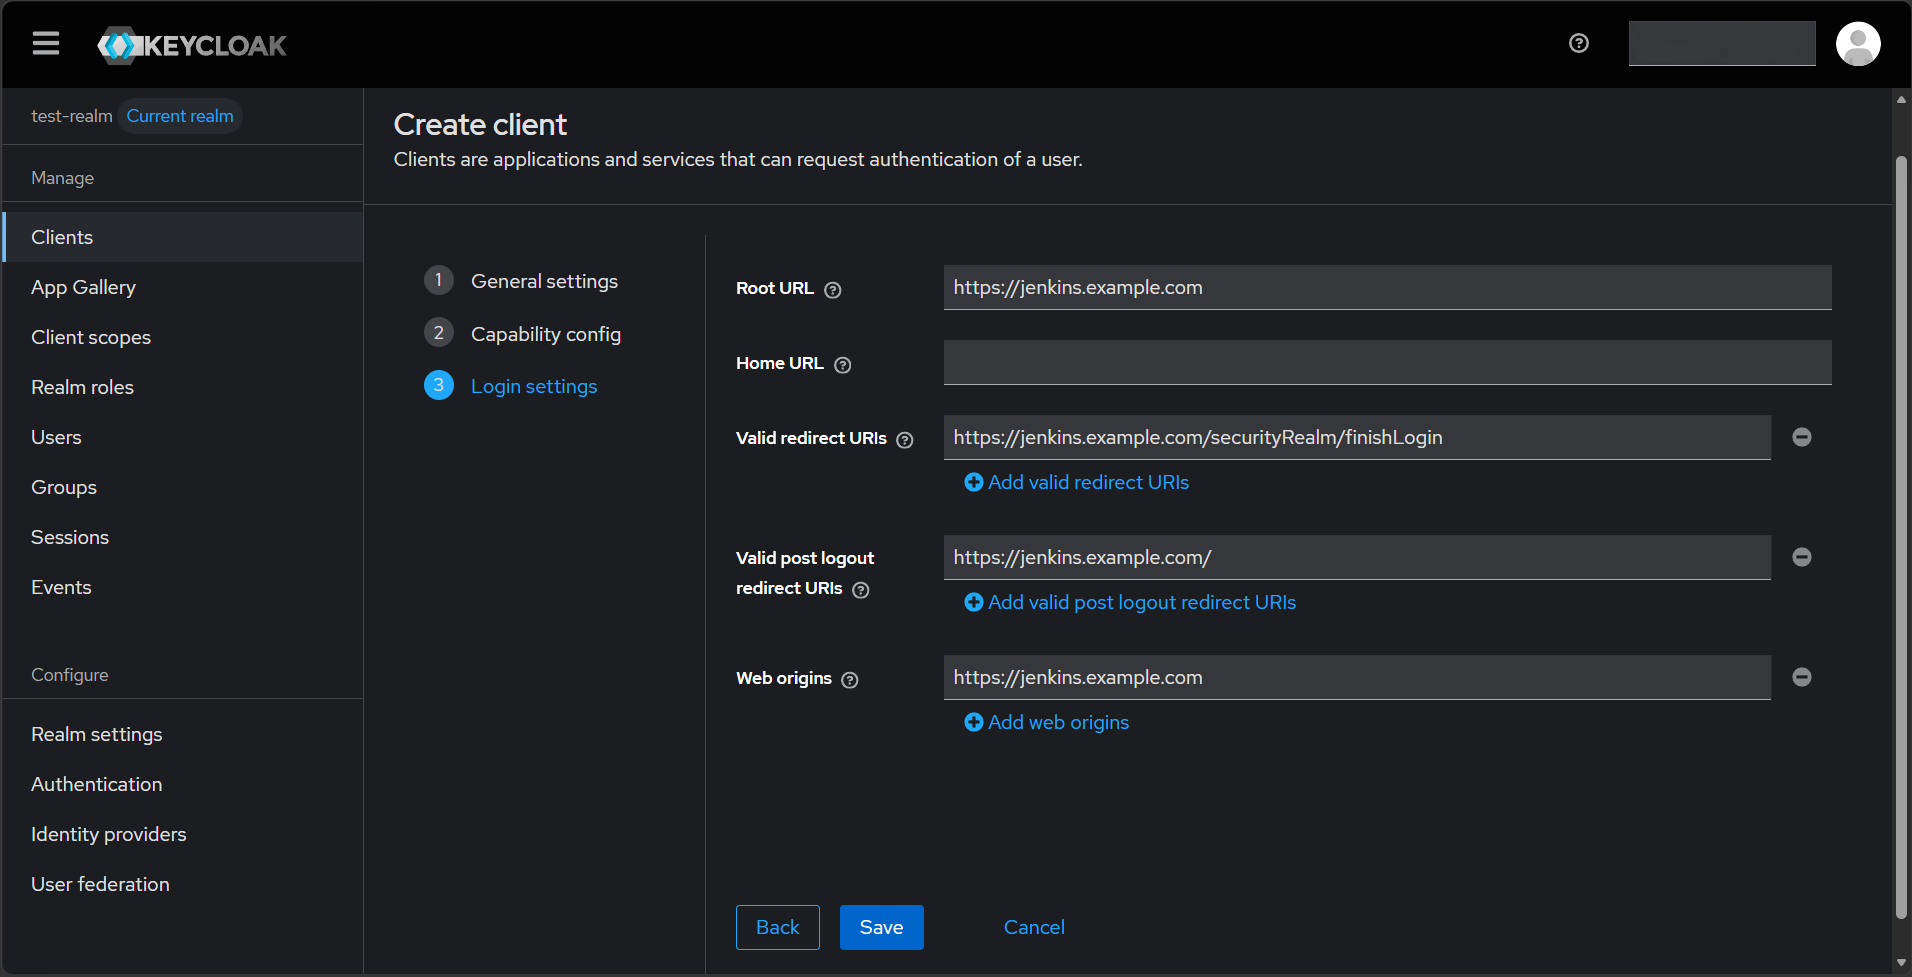
Login settings:
Replace
jenkins.example.comwith your actual Jenkins domain in all four fields below.
- Root URL:
https://jenkins.example.com - Valid redirect URIs:
https://jenkins.example.com/securityRealm/finishLogin - Valid post logout redirect URIs:
https://jenkins.example.com/ - Web origins:
https://jenkins.example.com
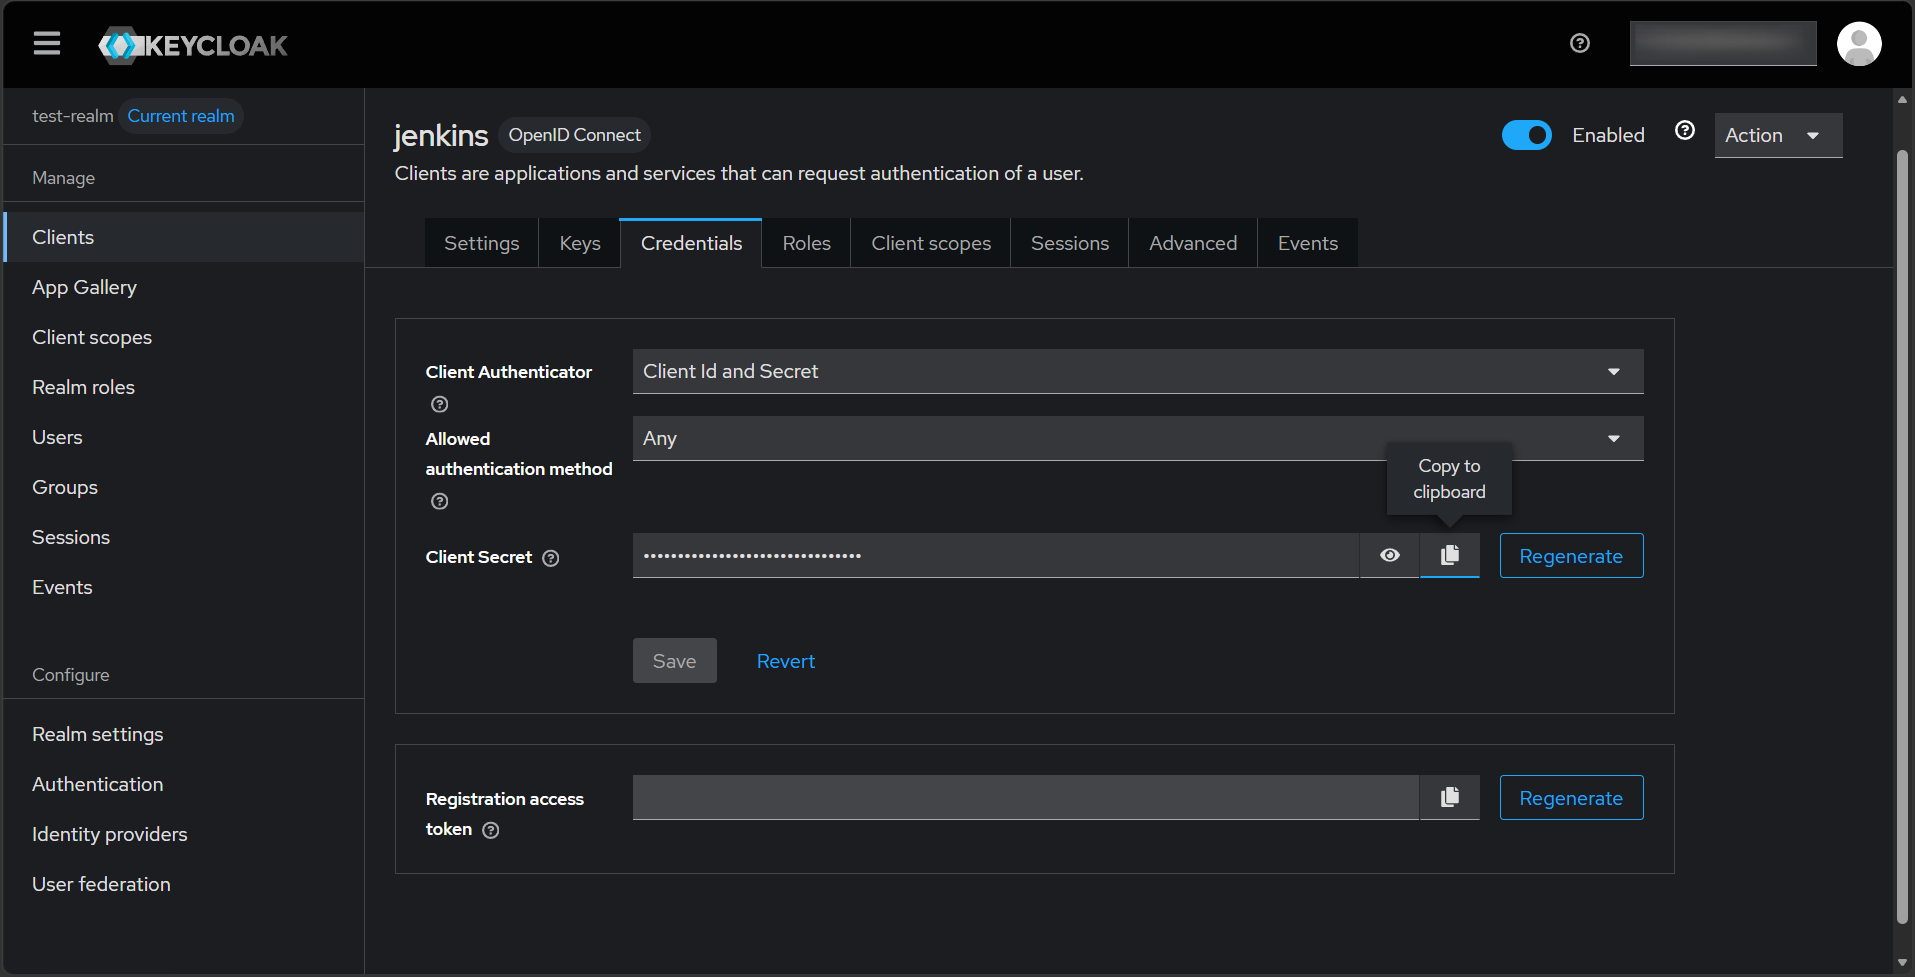
2.1 — Copy the client secret
Clients → jenkins → Credentials → copy the client secret.
Step 3 — Configure the security realm
In Jenkins:
- Manage Jenkins → Security
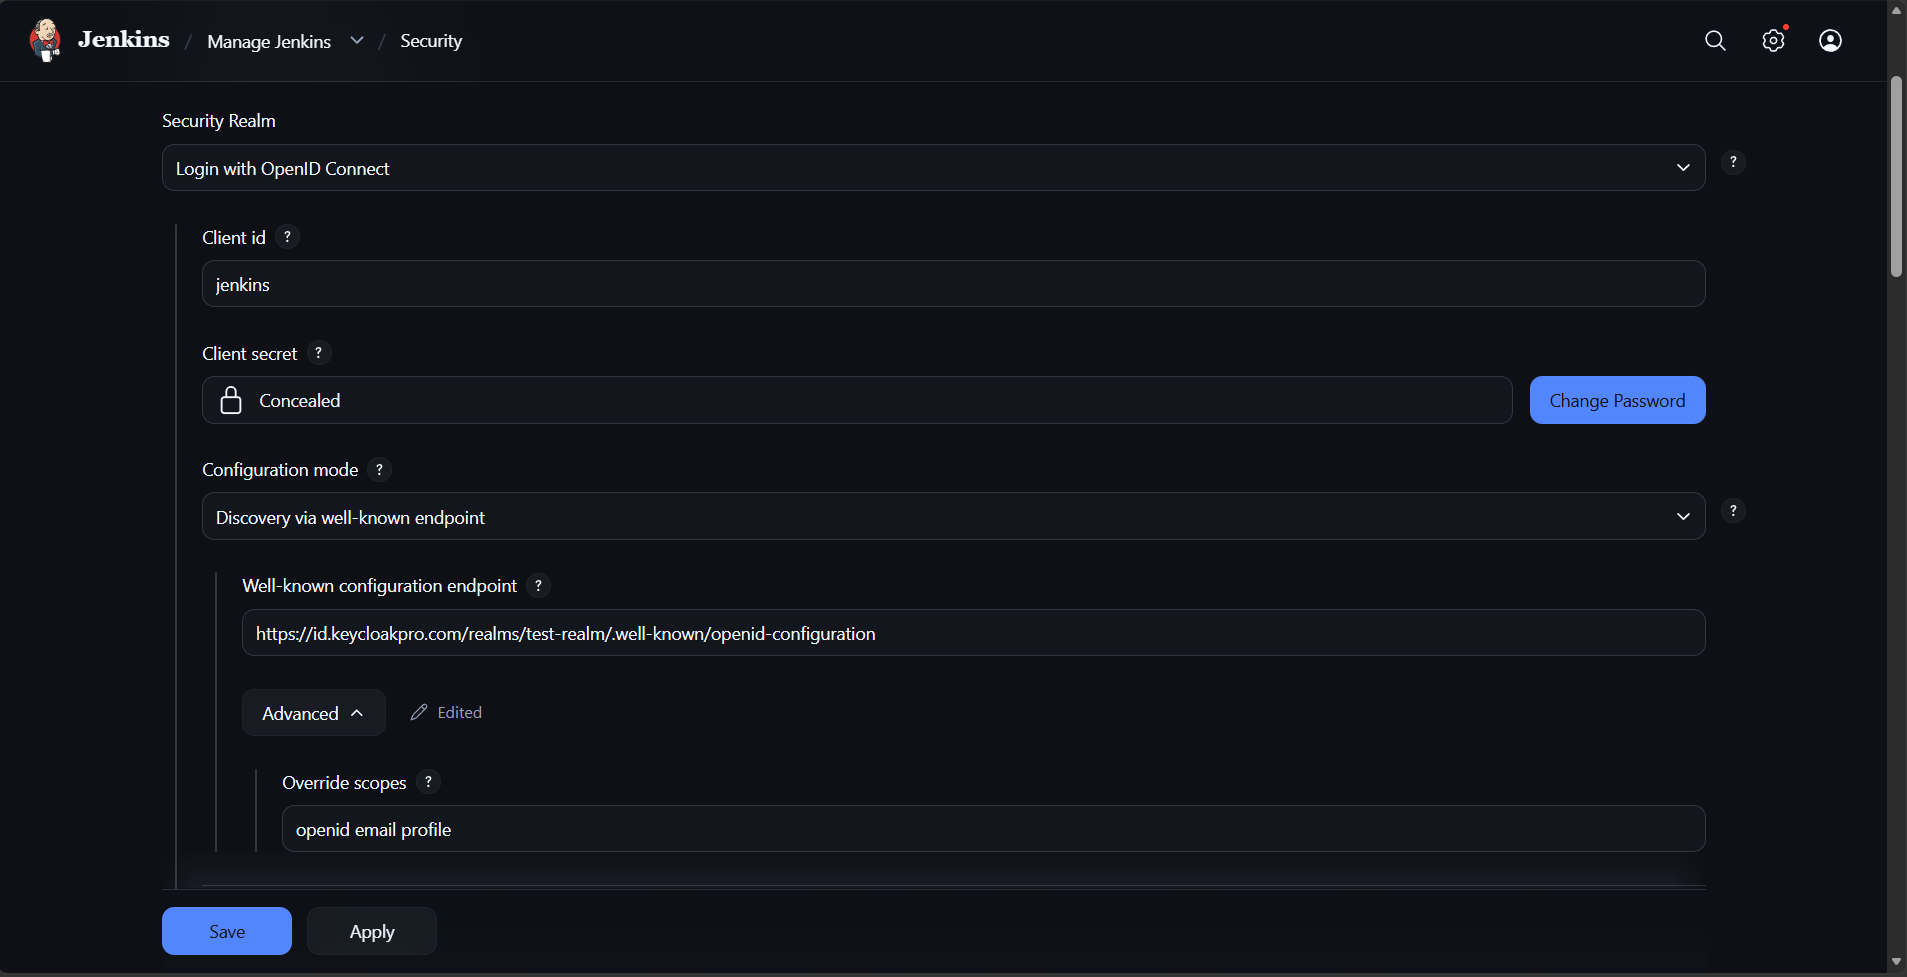
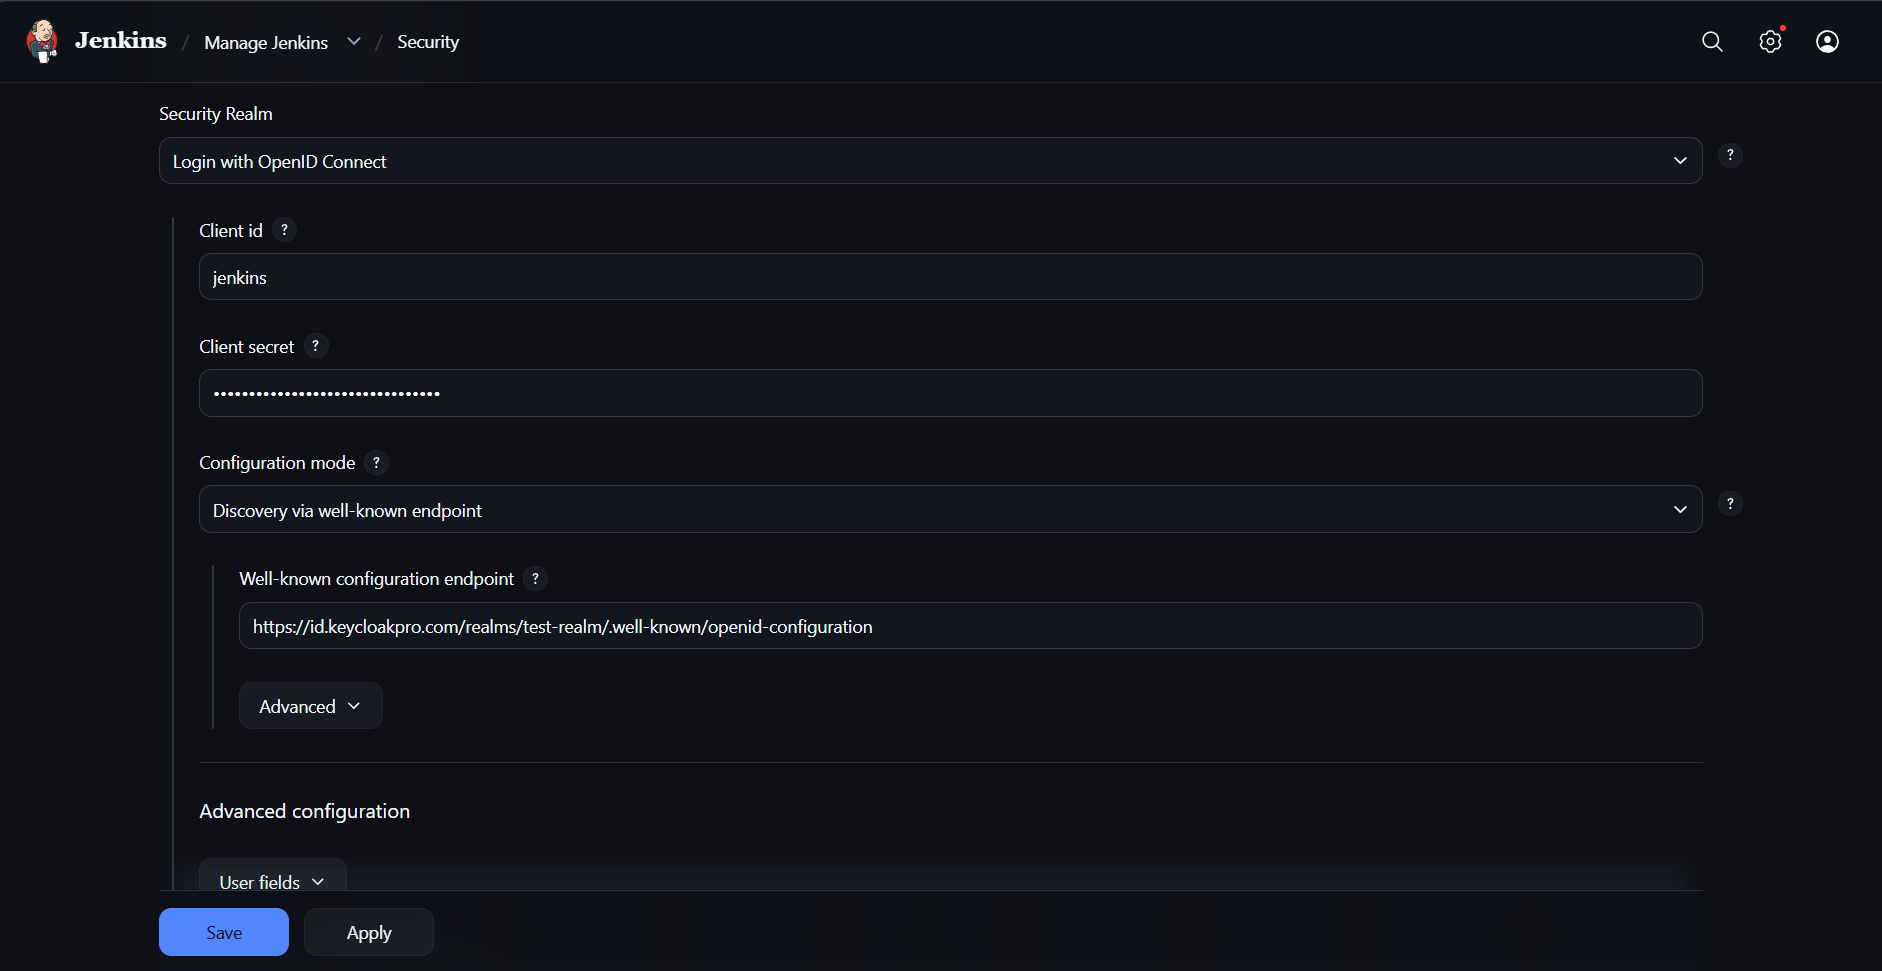
- Under Security Realm, select Login with OpenID Connect
- Client id:
jenkins - Client secret: (paste from Step 2.1)
- Configuration mode: Automatic configuration (well-known)
- Well-known configuration endpoint:
https://keycloak.example.com/realms/YOUR_REALM/.well-known/openid-configuration
Replace
YOUR_REALMwith your realm name andkeycloak.example.comwith your Keycloak hostname.
- Expand Advanced and set Override scopes to
openid email profile.
Without this, login can fail or come back without the claims Jenkins needs. The oic-auth plugin doesn't always request the right scopes from the well-known config alone — setting them explicitly here ensures Keycloak returns the
profileclaims along with the baseopenidscope.
Click Test configuration to verify Jenkins can reach Keycloak's discovery document. A green result means Jenkins fetched the Keycloak realm metadata. A red result usually means a network or TLS issue between Jenkins and Keycloak.
Step 4 — Map user attributes
Scroll to Advanced in the security realm section. Fill in:
| Field | Value |
|---|---|
| User name field name | preferred_username |
| Full name field name | name |
| Email field name | email |
| Groups field name | groups |
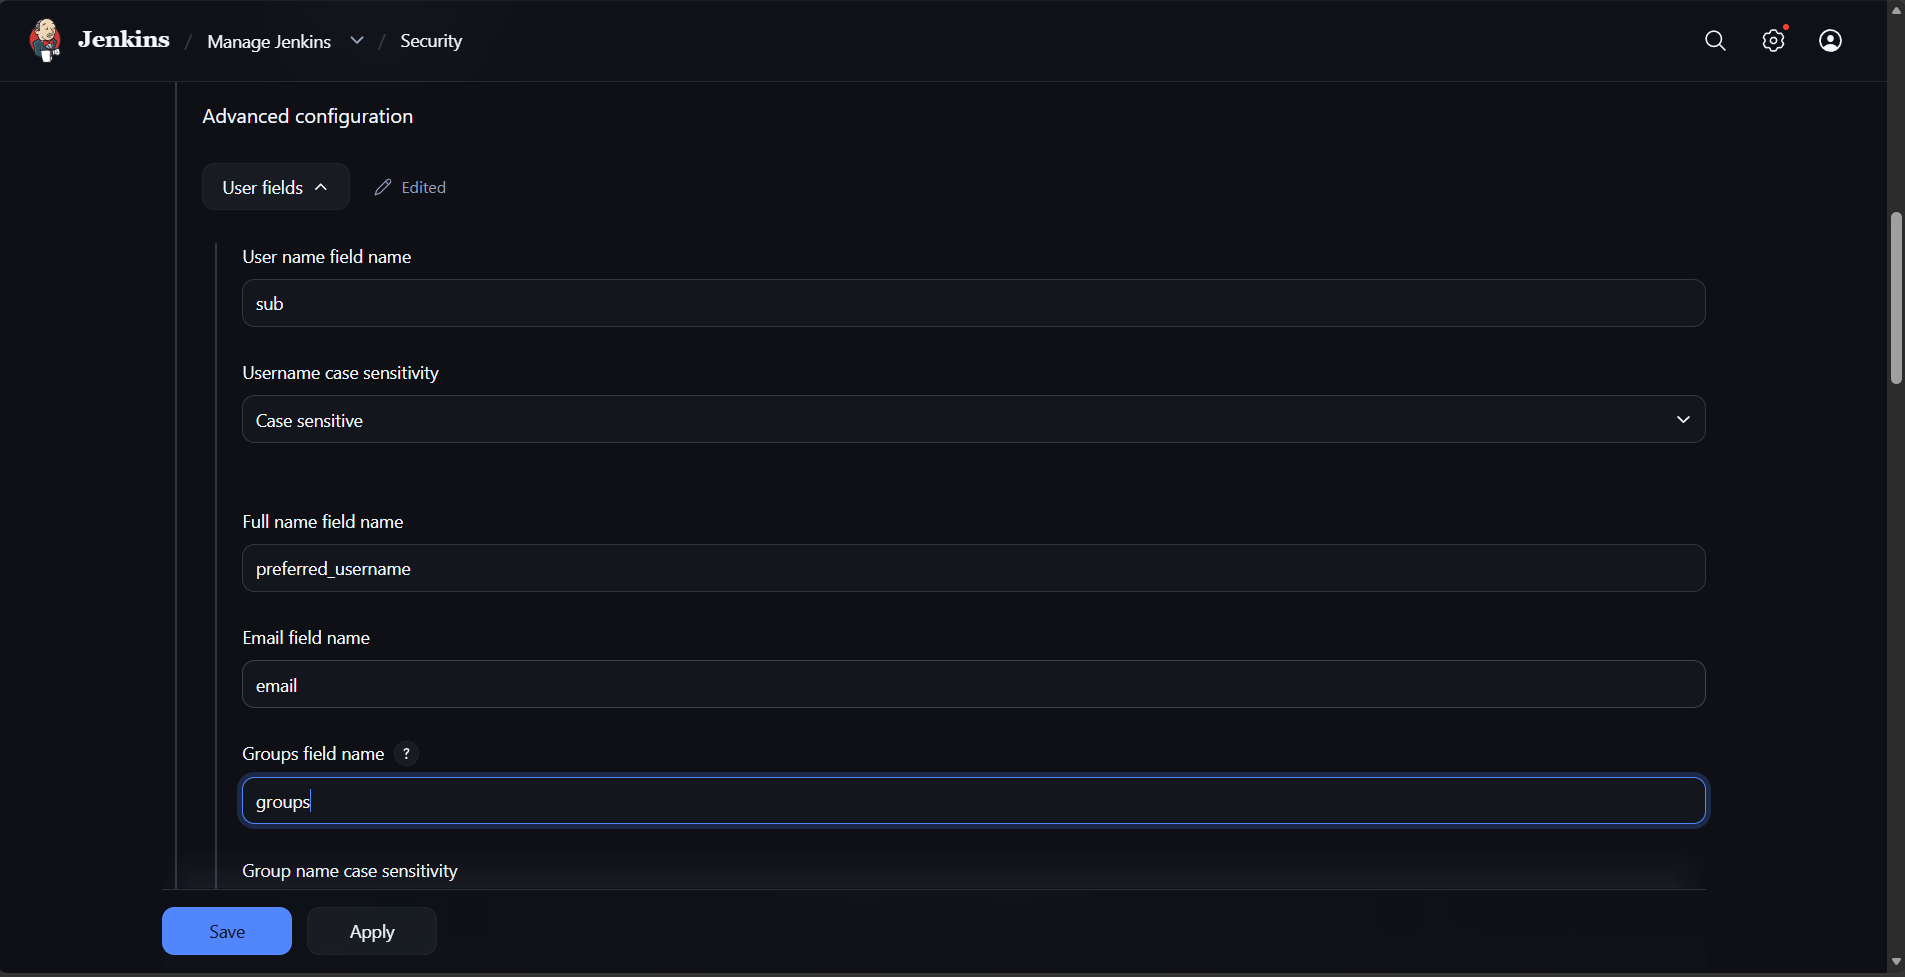
Save the configuration.
Step 5 — Test the login
Open a private browser window and go to https://jenkins.example.com. Jenkins redirects to Keycloak for authentication instead of showing a local login form.
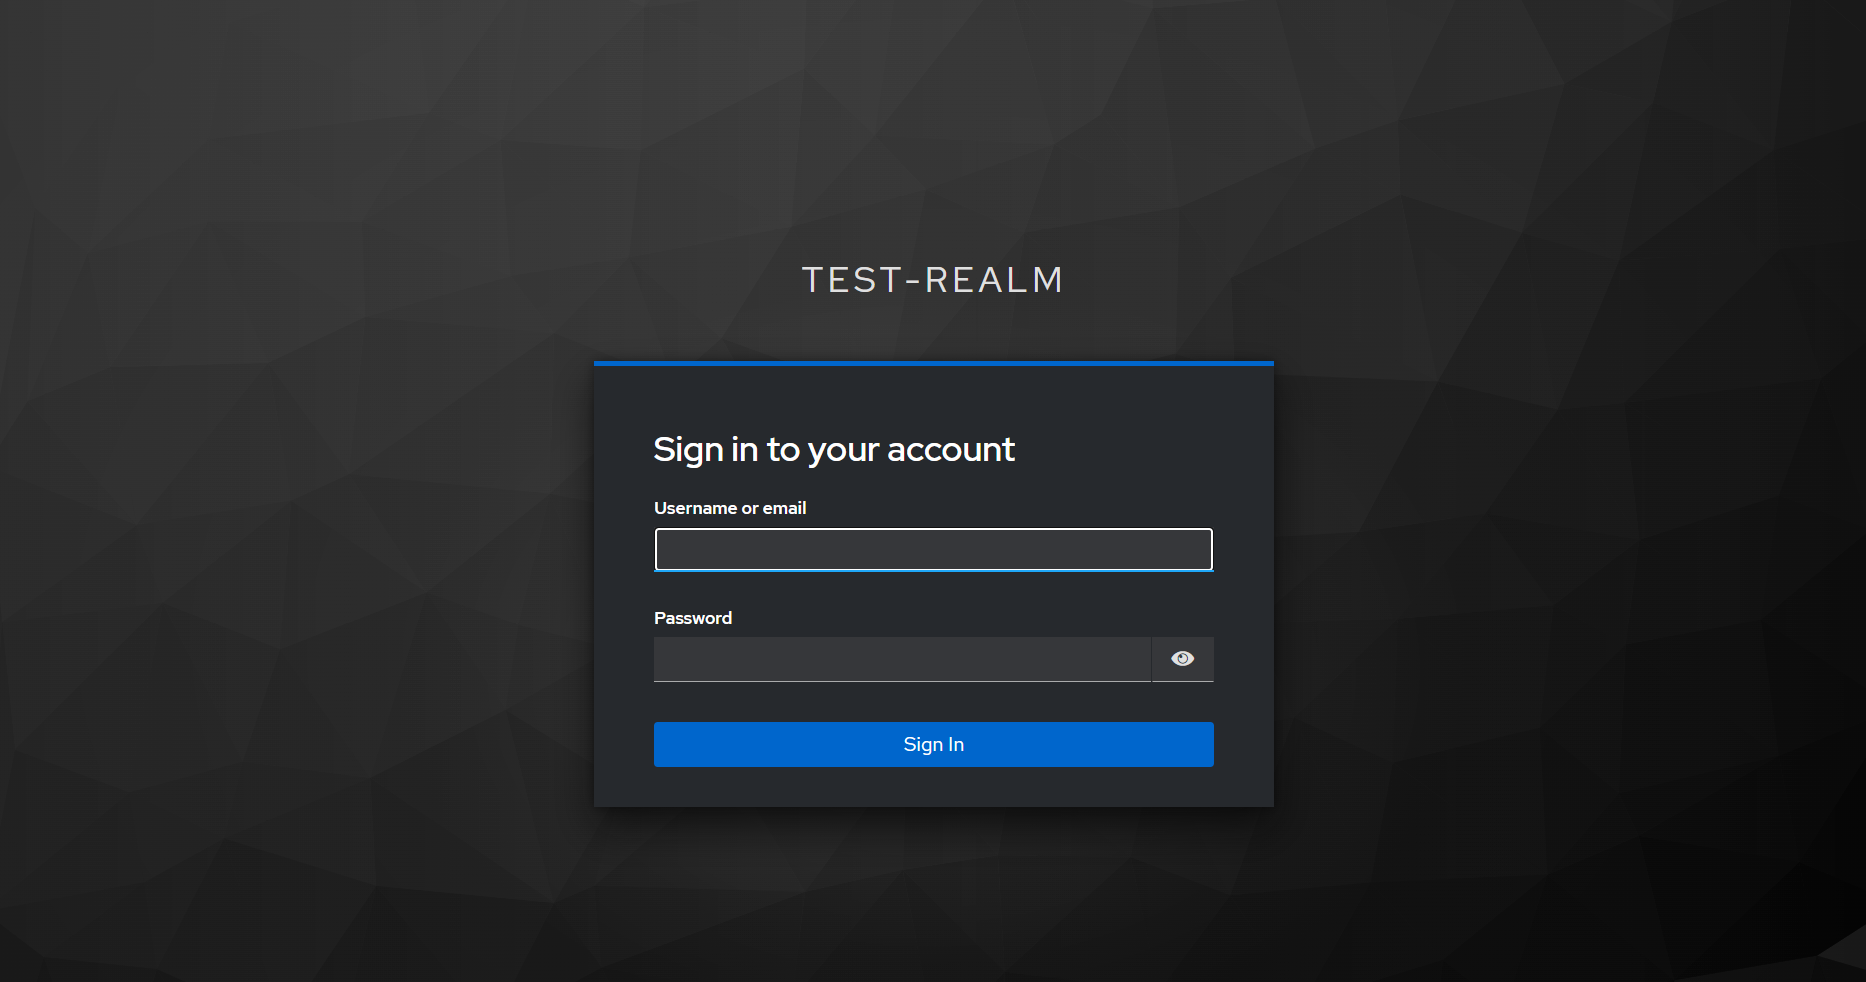
After login, Jenkins creates the user account and shows the main dashboard, with the Keycloak username (from the preferred_username claim mapped in Step 4) visible in the top-right menu.
Step 6 — Role-based access (optional)
By default, every authenticated user gets the same Jenkins permissions. To assign different permissions by Keycloak group, install the Role-based Authorization Strategy plugin (plugin ID: role-strategy) and configure it alongside oic-auth.
- Install Role-based Authorization Strategy from Manage Jenkins → Plugins
- Manage Jenkins → Security → Authorization → Role-Based Strategy
- Manage and Assign Roles → Manage Roles → create roles and set permissions
- Manage and Assign Roles → Assign Roles → assign Keycloak group names to roles
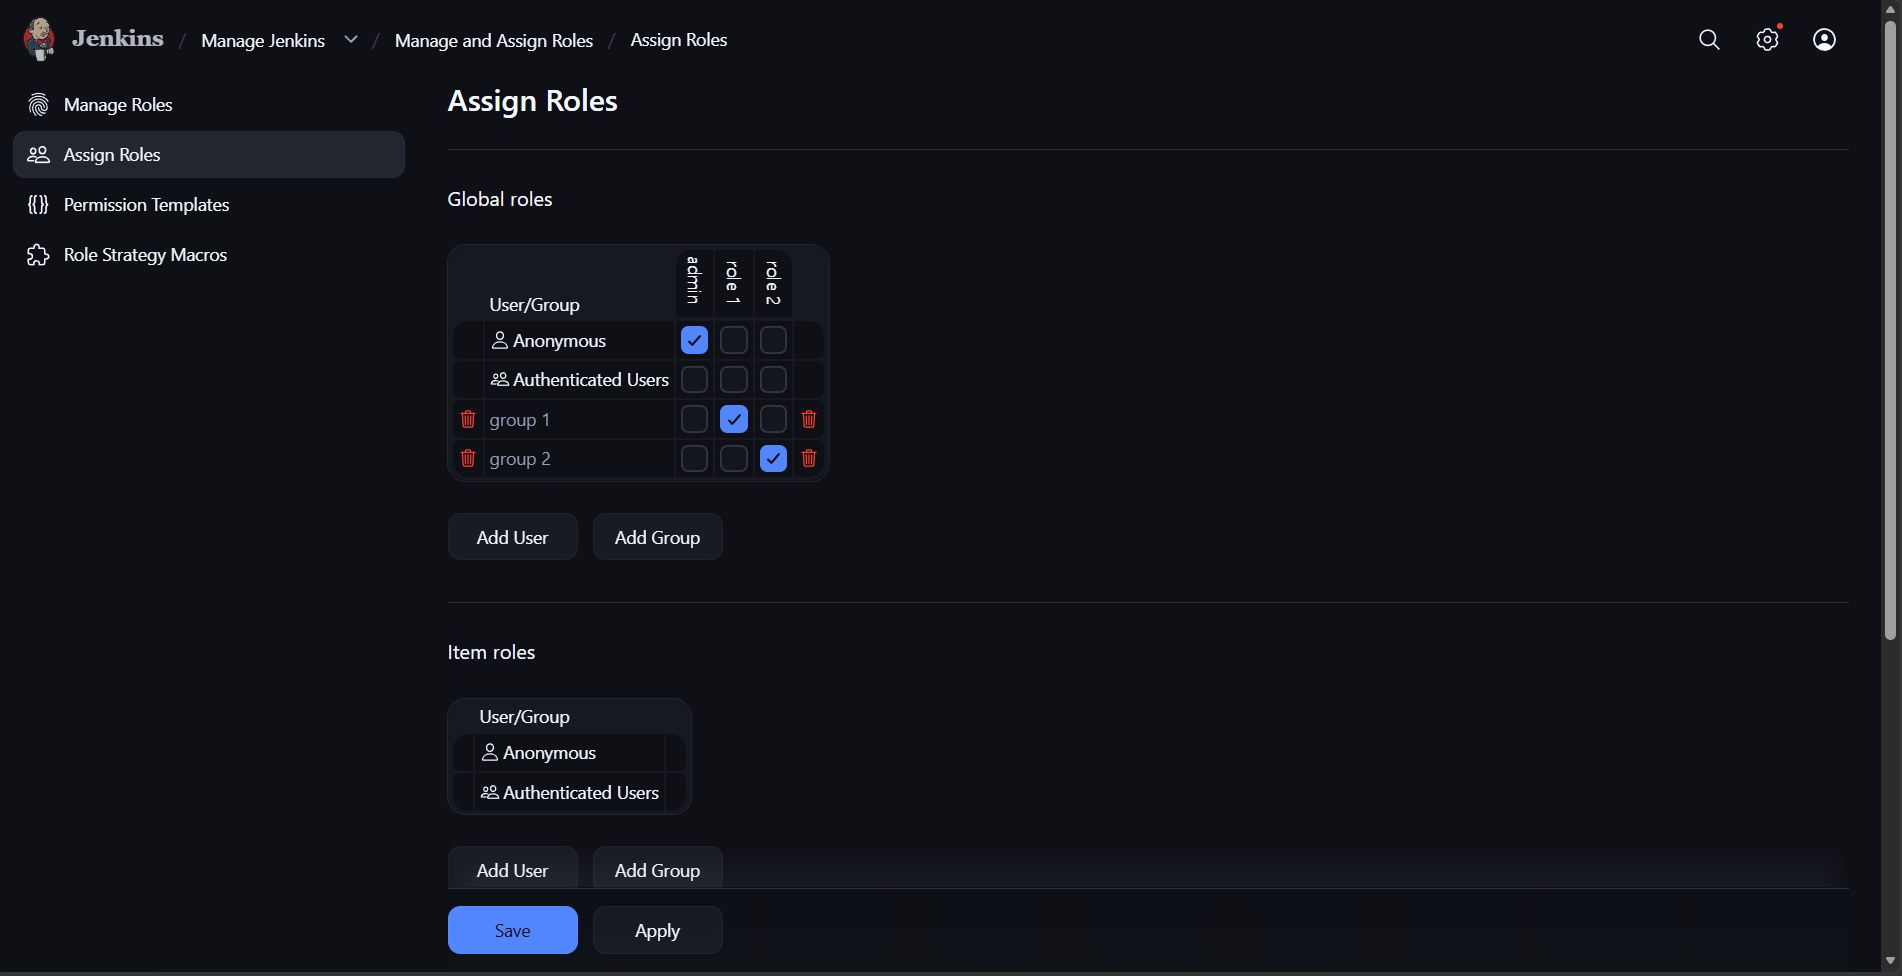
The oic-auth plugin reads the groups claim from the token and registers each value as a Jenkins group. The Role Strategy plugin then maps those groups to roles. For this to work, the groups claim must be present in the token.
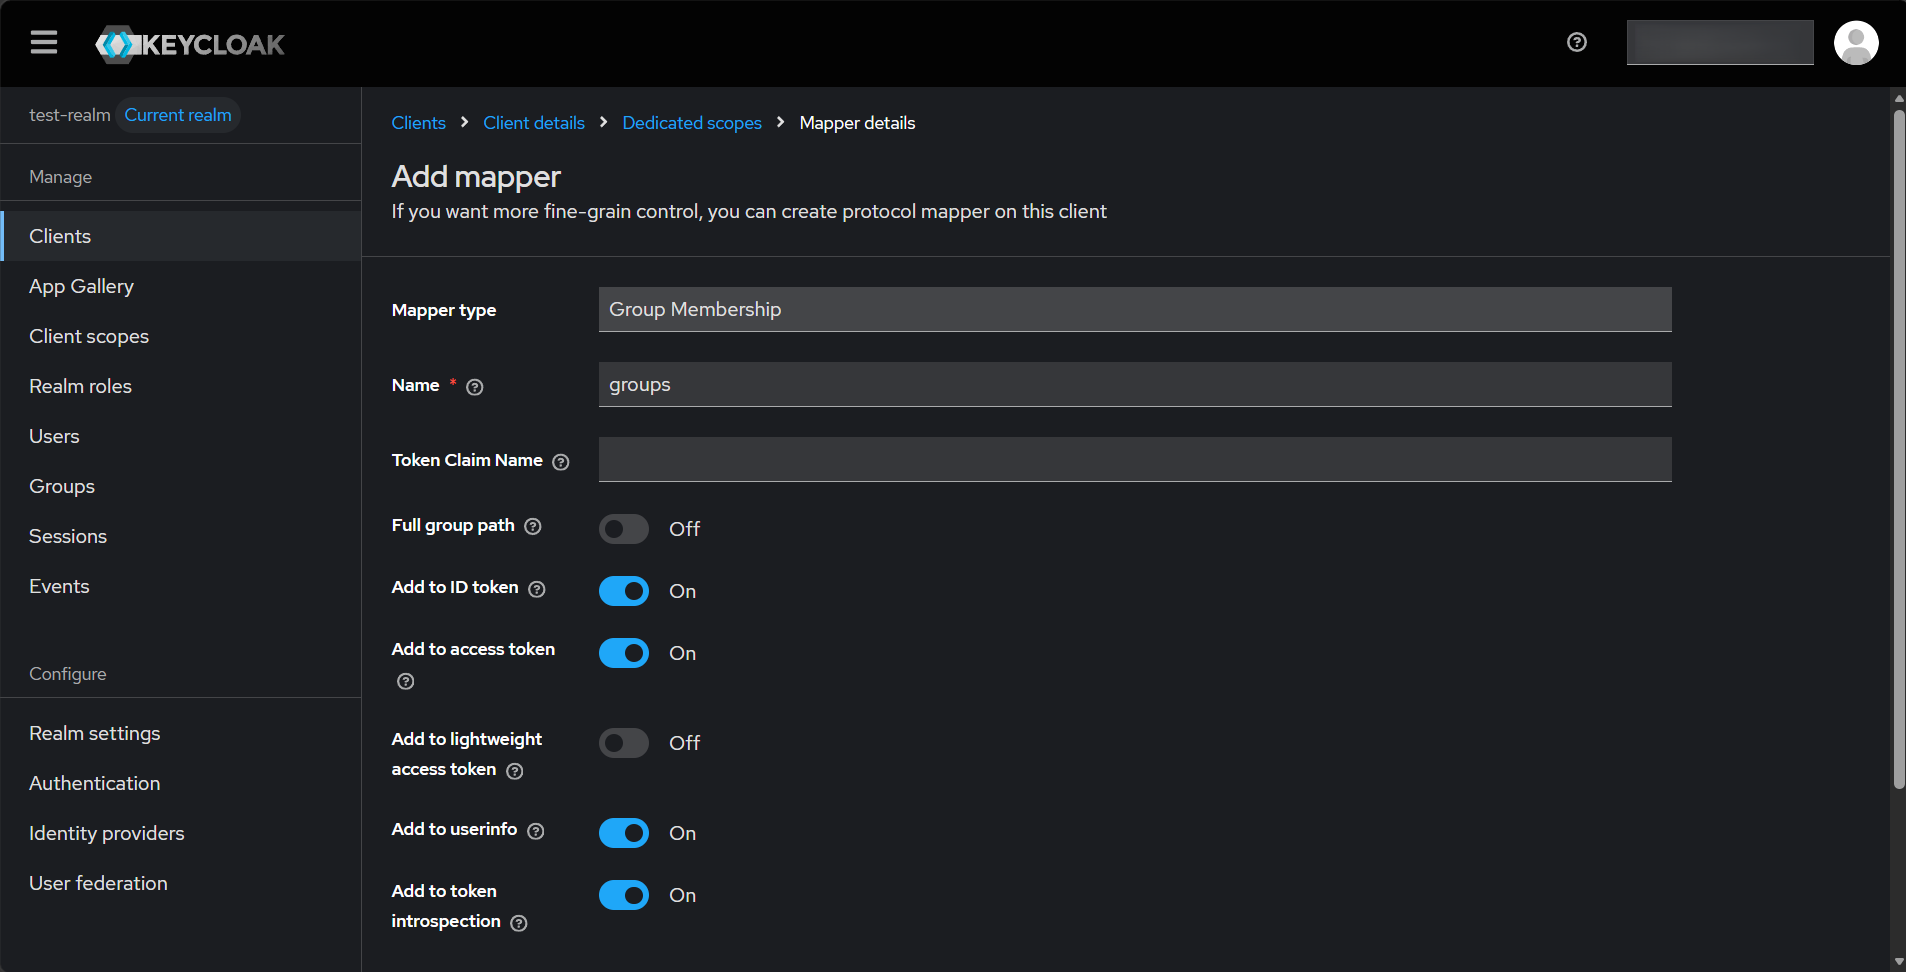
6.1 — Add the groups mapper in Keycloak
- Clients → jenkins → Client scopes → jenkins-dedicated → Add mapper → By configuration
- Select Group Membership
- Token Claim Name:
groups - Full group path: OFF
- Add to ID token: ON
- Save
Troubleshooting common issues
"Invalid redirect_uri" from Keycloak after login
Jenkins sends https://jenkins.example.com/securityRealm/finishLogin as the redirect URI. If the Valid redirect URIs field on the Keycloak client doesn't match exactly, Keycloak rejects the request. Check the URI in Keycloak's error page and compare it character by character with what you entered.
403 after successful Keycloak login
If Jenkins shows a 403, the authorization strategy is blocking the user. If you're using Matrix-based security, the authenticated user or their group needs at least the Overall/Read permission. Switch temporarily to "Logged-in users can do anything" to confirm authentication works, then restore the real authorization policy.
Configuration test passes but login fails
The test button only checks that Jenkins can fetch the discovery document. It doesn't validate the client credentials. If the client secret is wrong, the token exchange at /securityRealm/finishLogin fails silently. Copy the secret again from Keycloak and save the security realm config.
If the secret is correct and login still fails (or you land back on the Keycloak login page repeatedly), check the Override scopes field under Advanced — it needs to be set to openid email profile. Without it, the scope Jenkins requests may not match what your realm expects, and the login round-trip doesn't complete.
Users can log in but their full name or email is blank
The claim names in Step 4 must match exactly what Keycloak sends. Enable Jenkins' system log (Manage Jenkins → System Log → add logger for hudson.security) and look for the raw claims during a login. The log shows each claim name — compare them to what you typed in the field mapping.
Remove the temporary logger after you're done debugging — it can log token claims, which may include sensitive identity data.
Locked out after changing the security realm
If the OIDC config breaks, Jenkins may block all access including the admin account. Stop the Jenkins service, edit $JENKINS_HOME/config.xml, set <useSecurity>false</useSecurity>, and restart. This disables security entirely so you can log in and fix the config. Re-enable security immediately after.
Production checklist
- HTTPS on both Jenkins and Keycloak
- Client secret stored in Jenkins' credentials store or passed as an environment variable, not typed into a UI form that gets exported
-
preferred_usernameused for the username field — it maps to stable Keycloak usernames - Authorization policy tested before disabling the local admin account
- Local admin account kept active as a fallback until SSO is confirmed stable
- Direct access grants disabled on the Keycloak client
- Jenkins restarted after plugin installation before configuring the security realm
Need help integrating Jenkins with Keycloak?
We deliver production-ready Jenkins + Keycloak integrations in 1–3 weeks.
Fixed-price, zero vendor lock-in, full source code ownership.